


Managing Your Drop Progression
With over 70 unique blueprints scattered across Stella Montis, targeted farming is essential. Use this tracker to log what you've extracted and queue unlearned blueprints to generate a consolidated material shopping list.
| Blueprint Type | Primary Drop Source | Key Event Triggers |
|---|---|---|
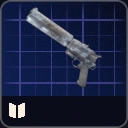
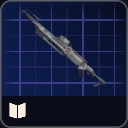
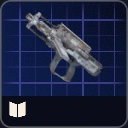
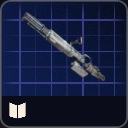
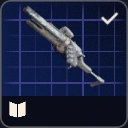
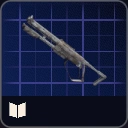
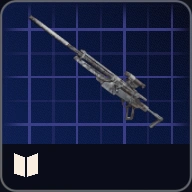
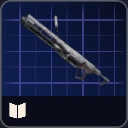
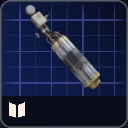
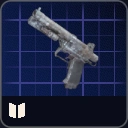
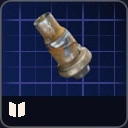
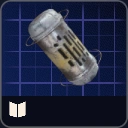
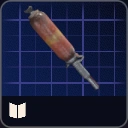
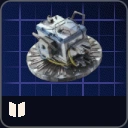
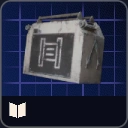
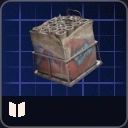
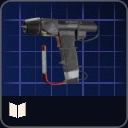
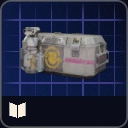
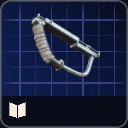
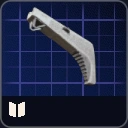
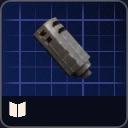
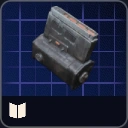
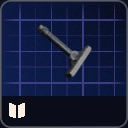
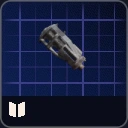
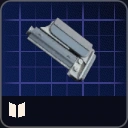
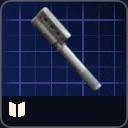
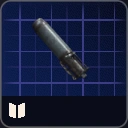
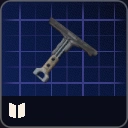
| Weapons / Gun Parts | Raider Containers | Standard Spawn |
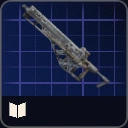
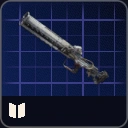
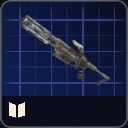
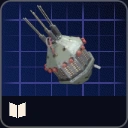
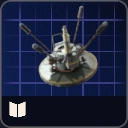
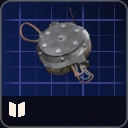
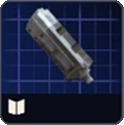
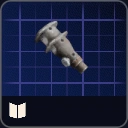
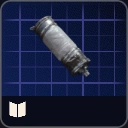
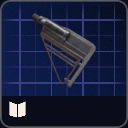
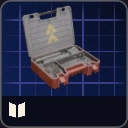
| Legendary Heavy Weapons | Harvester Drops | Harvester Event |
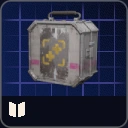
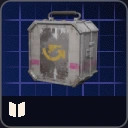
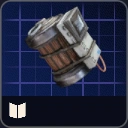
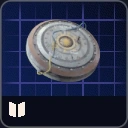
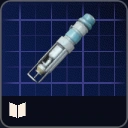
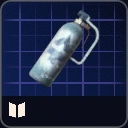
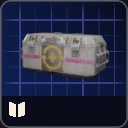
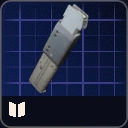
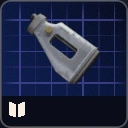
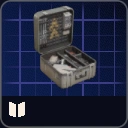
| Medical / Consumables | Medical Containers (Cross Icon) | Hidden Bunker Event |
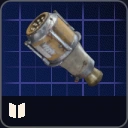
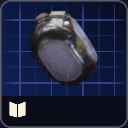
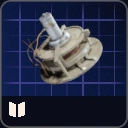
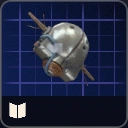
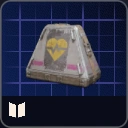
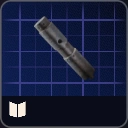
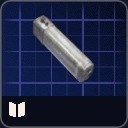
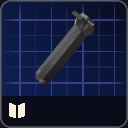
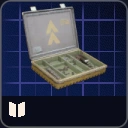
| Augments (Safe Pocket) | Security Containers | Night Raid Only |
The true value of this tool is the aggregate Shopping List. Instead of cross-referencing multiple wiki tabs, queuing three different weapon mods will yield a single, summed list of Required Metal Parts and Reclaimed Circuits to guide your next extraction run.